Thread
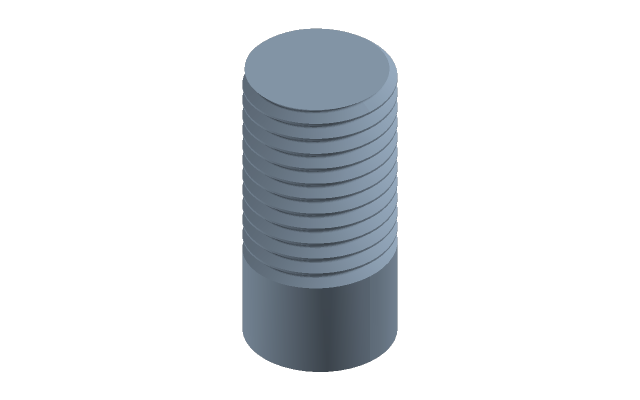
A real helical groove is built: it shows in a section, it goes out to STEP and STL, a pair can be checked for fitting together. The price is rebuild time — so a thread usually goes last.
How to do it
- Press Thread and click a cylinder — the thread goes On a cylinder (a shaft) — or a hole — In a hole (nut or bushing).
- In the bar above choose the Standard: Metric ISO (60°), Trapezoidal Tr (30°), Round Rd (DIN 405), Buttress (7°/45°) — or Custom.
- Set the Nominal Ø — to match the face — the Pitch (0 = std) and the Length. The diameters and depth by the standard work themselves out; a Custom thread also takes the Profile angle and Thread depth.
- If needed: Fit clearance, Lead-in run-out and Lead-out run-out, Starts, Left-hand.
- Enter applies, Esc cancels.
The hint at the bar names the counterpart thread: the same standard, size, pitch, starts, hand and fit — only the side differs. The fit is one value for the pair: it thins the external thread and thickens the internal one.
Auger — the same button, another mode
Auger in the bar builds a helical flight on a shaft — the one that is welded on, not a groove that is cut: a thread takes material away, an auger adds it. At the geometry you set the Outer Ø, Pitch, Length, Flight thickness, Edge fillet, Taper at the start and Taper at the end. Conveyors and extruders are made so.
If it did not work
The program refuses in words at the field before Enter:
- "a thread of … is longer than the cylinder" — shorten the thread to the length of the face;
- "an Ø… thread does not fit an Ø… face" — choose the size by the face or the face by the size;
- "the thread depth is not less than the radius" — the pitch is too coarse for such a diameter;
- an auger's outer diameter must be larger than the shaft: a flight inside the shaft adds nothing.